Beginner sewing machine setup is not difficult, but it is unforgiving about order. Wind the bobbin after you thread the top, or thread with the presser foot down, and you will spend twenty minutes convinced the machine is broken when it is only threaded wrong. I teach a beginner class in Portland, and every term three or four students walk in with a machine still in the box and a costume they want finished before Halloween. The machine is almost never the problem. The sequence is.
I have been a costume seamstress for twelve years, and I have sewn Renaissance fair gowns, school play tunics, and Halloween costumes for a school of 400 kids. I also keep a seam test journal, five fabric types and three stitch lengths per machine, because that is the only honest way to compare one machine to another. What follows is the setup order I use in class, and the two machines I put in front of beginners when they ask me what to buy.
Why you should trust me
Twelve years in costume shops taught me that straight stitch quality is the whole game and everything else is convenience stacked on top of it. My seam test journal has a verdict on every machine I have run through it, and the rule is simple: no verdict without a seam test on at least three fabric types. I own three machines and a serger that lives on my dining table, and I have torn apart enough tension assemblies to know which dials actually do something across their range and which ones are decoration.
My current project is a tension stability run on 2026 beginner machines, with a buttonhole marathon on every unit. That work is why I am picky about the order below. Most beginner frustration is a threading problem wearing a tension problem's coat.
How I picked and how I tested
The criteria are short. Straight stitch quality on woven fabric and on a knit. A tension dial that changes the stitch visibly as you move it. A buttonhole that closes cleanly instead of nesting. A free arm, because cuffs, sleeves, and small costume pieces are miserable without one. And an accessory bundle that lets you sew the day the box arrives instead of the day the thread order shows up.
What I do not weigh: stitch count. This is the marketing number that sells machines and the number beginners quote back to me in class. A 27-stitch machine and a 37-stitch machine share the same core set. Straight, zigzag, a stretch stitch, a blind hem, and a buttonhole are what you will actually use. The extra ten or twenty stitches on the step-up model are decorative patterns you will touch twice and forget.
The test protocol I run on any machine: the same five fabric types, quilting cotton, cotton lawn, ponte knit, midweight denim, and silk dupioni, sewn at three stitch lengths. I look at the seam from the front and from the back, and I look for puckering, tunneling, and whether the stitch is balanced or the top thread is winning. Then I run buttonholes on each fabric. A buttonhole tells you more about a machine's brain than its stitch count ever will.
Both machines below are the same brand, the same general class, and about twenty dollars apart. The differences that matter are the free arm, the accessory bundle, and how many decorative stitches you are paying for.
The two machines I hand beginners
Both of these arrive with enough thread and needles to start sewing the same afternoon, which is the whole point of a bundle. If you are shopping for a first machine, this is the short list.
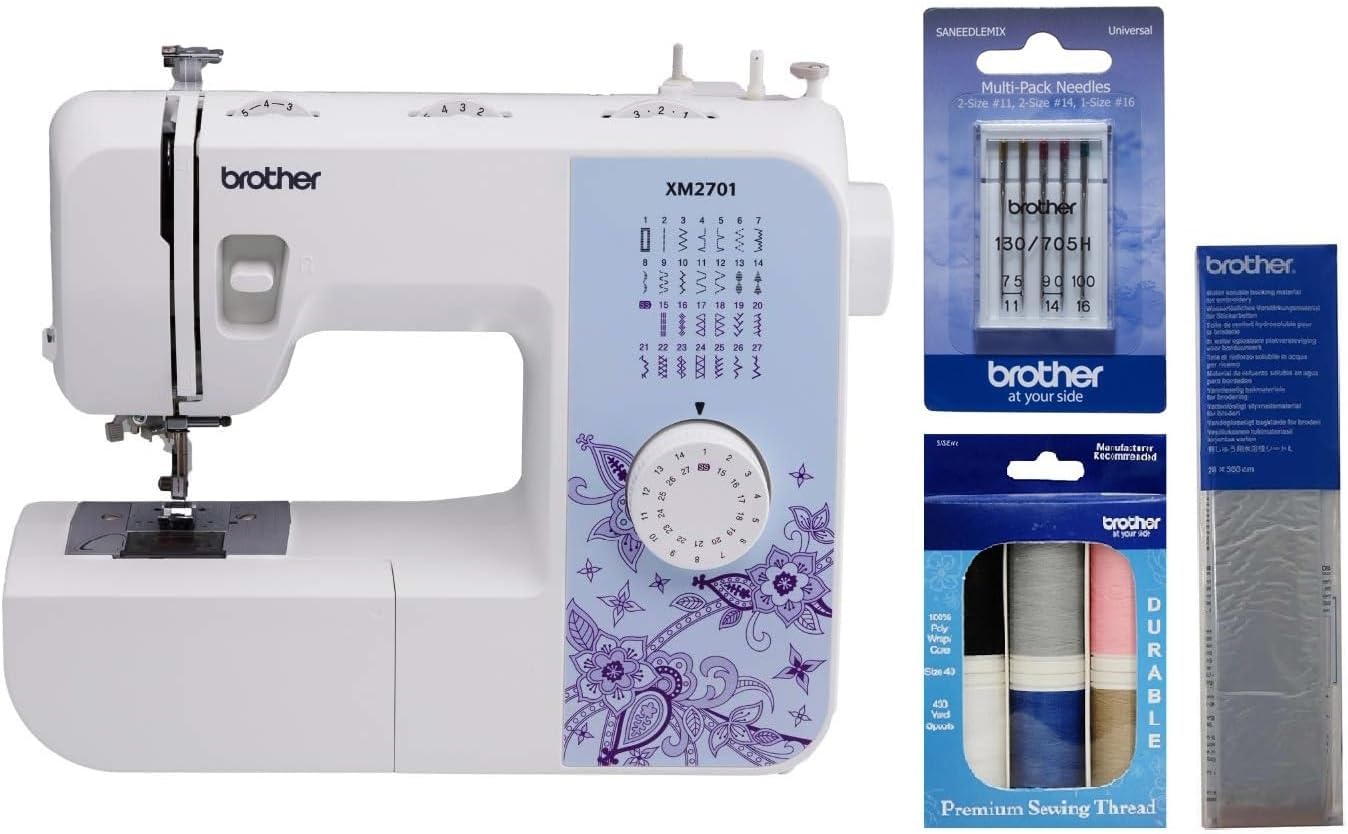
The all-rounder: Brother XM2701 27-Stitch Sewing Machine, 6-Piece Premium Thread Pack, Water Soluble Stabilizer, 5-Piece Sewing Machine Needles
 Visit on Amazon →
This is the machine I would hand a student who wants to sew garments and simple costumes and does not want to think about settings. Twenty-seven stitches is more than a beginner will use in a year, and the bundle is the part that earns its place. The five-piece needle pack covers you for wovens and midweight fabric, and the six-piece thread pack gets your first few projects sewn without a trip to the fabric store.
The water soluble stabilizer is the piece most beginners ignore and later depend on. Lay a scrap over a knit or a fuzzy fabric before you sew a buttonhole, stitch through both, then rinse the stabilizer away. It is the difference between a buttonhole that closes and a buttonhole that nests into the fabric and refuses to lie flat. For a costume sewer doing plackets and closures on stretch fabric, that single accessory is worth more than a dozen decorative stitches.
Flaws but not dealbreakers: A six-piece thread pack is a starter kit, not a thread stash. You will outgrow the colors in a month and buy spools in the shades your project actually needs. And 27 stitches means the decorative library is thin if you wanted to embellish hems with pattern stitches.
Anyone sewing garments, simple bags, or kids' costumes who wants a machine that behaves without a screen or a menu should start here.
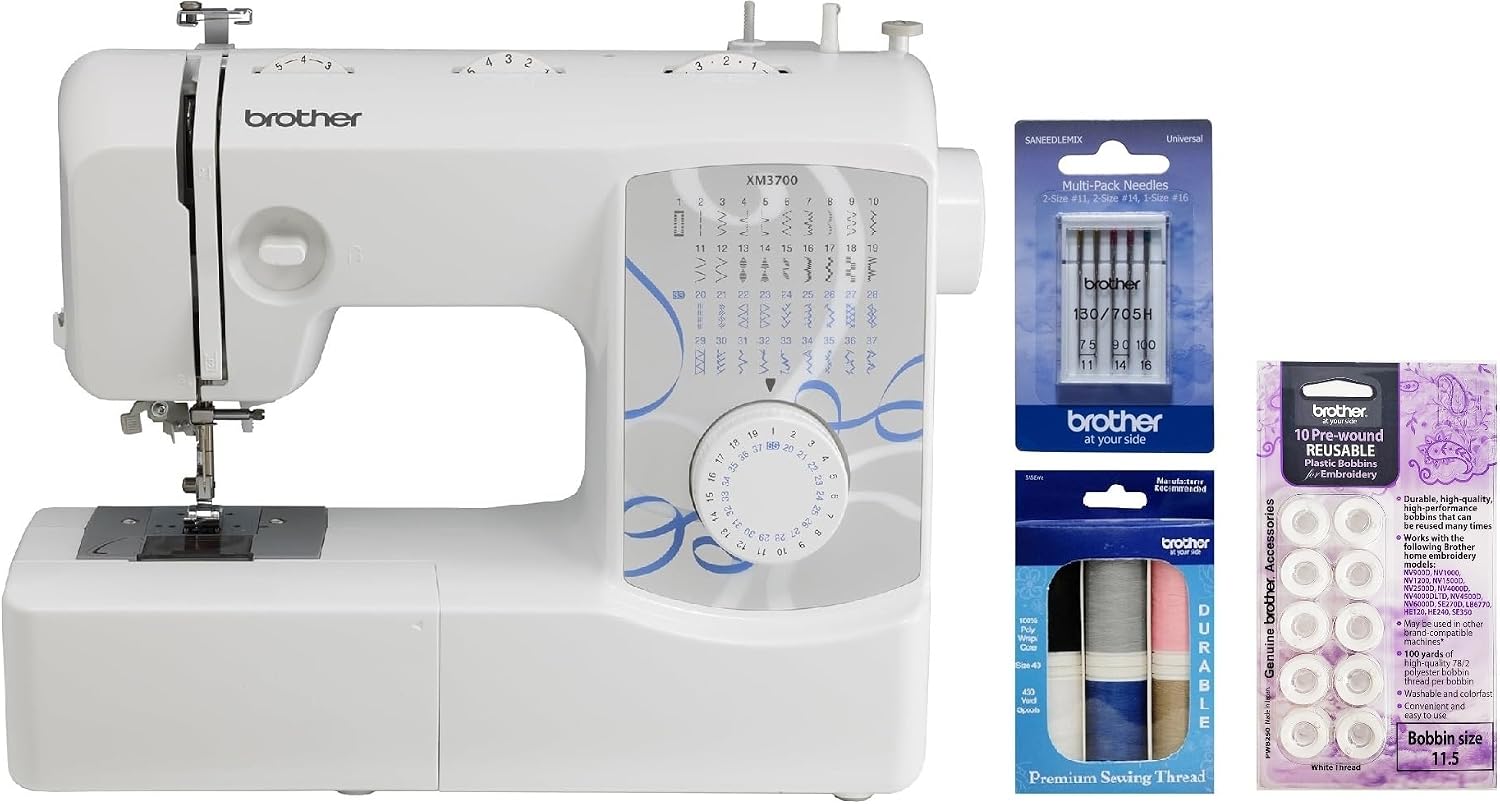
The step-up: Brother XM3700 37-Stitch Free Arm Sewing Machine, Premium Thread 6-Pack, Pre-Wound Bobbins 10-Pack and Sewing Machine Needles 5-Pack
 Visit on Amazon →
The free arm is the reason to step up. On a flat-bed machine you sew a small sleeve by opening the seam and wrestling the fabric around the bed. With a free arm you slide the sleeve over the arm and the seam runs straight. If you sew for children, if you hem sleeves, if you make anything with a cuff, this is not a luxury feature. It is the feature that decides whether a project is pleasant or a fight.
The ten pre-wound bobbins matter for a different reason. Bobbin winding is where beginners make their first real mistake, usually by winding unevenly or by threading the bobbin case backward, and pre-wound bobbins let you sew while you learn. You also get a six-pack of thread and a five-pack of needles, so the same same-day-start logic applies.
Flaws but not dealbreakers: Pre-wound bobbins are wound with one thread weight, and if your top thread is a noticeably different weight, your tension will read slightly off even when the dial is correct. Wind your own bobbins with the same thread you are using on top once you are comfortable, and keep the pre-wounds for quick jobs. Also, 37 stitches versus 27 is not a quality jump. You are paying for the free arm and the bobbins, not the extra ten patterns.
Anyone sewing sleeves, cuffs, kids' clothing, or costume pieces with small circumferences will get more out of this machine than the all-rounder.
The setup workflow, step by step
Now the part that actually gets you sewing. Do these in order the first time, and the machine will behave.
Step one: read the threading diagram in your manual. Not a video for a different model. Every machine routes the thread through a different sequence of guides, and one missed guide is the most common cause of a birdnest on the underside. The manual that came in the box is the correct one for your machine.
Step two: wind the bobbin before you thread the top. This is the step beginners skip because they want to sew. Wind the bobbin first, and wind it evenly. An uneven bobbin changes tension as it unwinds, which makes the whole machine feel inconsistent when the real problem is twenty seconds of winding.
Step three: thread the top with the presser foot up. This is the single most important sentence in this article. The tension discs are open when the foot is up and closed when the foot is down. Thread the machine with the foot down and the thread sits on top of the discs instead of between them, and no amount of dial turning will fix it.
Step four: seat the bobbin correctly. Check the diagram for direction. A bobbin inserted backward produces a stitch that looks almost right and pulls apart under stress. That is worse than an obvious failure because you will not catch it until a seam pops on a finished garment.
Step five: bring the bobbin thread up. Hold the top thread tail, turn the handwheel toward you one full rotation, and the bobbin thread will come up through the needle plate. Always turn the handwheel toward you. Turning it backward is how needles get bent.
Step six: match the needle to the fabric. A universal needle for woven cotton, a stretch needle for knits, a heavier needle for denim. Change the needle at the start of every project or two, and immediately if you hear a thunk. A dull needle makes a machine sound cheap and produces skipped stitches that look like a tension problem.
Step seven: test on a scrap before you touch your project. Set your straight stitch around 2.5 mm on medium cotton and sew a test square. Look at the front and the back. Both sides should look like the same stitch. If the back is loopy, the top tension needs attention. If the front is loopy, look at the bobbin.
Step eight: let the machine feed the fabric. Do not push and do not pull. Your hands guide, the feed dogs move. Pulling fabric through bends the needle and shifts the stitch length, which is why so many first projects have wobbly seam allowances.
Tension, bobbin, and the first seam
Balanced tension means the knot between the top thread and the bobbin thread sits inside the fabric, invisible from both sides. When it is wrong, the knot migrates to whichever side has less resistance.
Loops and tangles on the underside almost always mean the top thread is not seated in the tension discs. Re-thread with the presser foot up before you touch the dial. Loops on the top of the fabric usually point at the bobbin: wrong direction, wound unevenly, or threaded through the case wrong. Birdnesting, that tangle of thread under the fabric at the start of a seam, is almost always a threading error or a bobbin inserted backward, not a broken machine.
Only after you have re-threaded both paths should you adjust the top tension dial, and then one number at a time with a test scrap between each change. The bobbin tension screw is the last resort, not the first. I have watched beginners bury a machine's bobbin tension in an afternoon chasing a problem that lived in the top threading path.
The mistakes that send beginners back to the store
Buying for fabric you do not sew is the big one. A machine tuned for quilting frustrates a garment sewer and the reverse is just as true. Buy for the fabric you actually handle.
Trusting the words heavy duty on a plastic body is the second. Weight and metal where the needle bar lives is what makes a machine calm on denim. A sticker is not.
Believing the stitch count is the third. Count the stitches you used in your last project. It will be three.
Skipping the free arm because you do not sew sleeves yet is the fourth. You will.
Waiting to change the needle is the fifth. Needles are cheap. Skipped stitches and bent needles are not.
What it all costs
Both machines come as bundles, so the honest number is the machine plus the consumables you will burn through. Check current Amazon price on each listing rather than trusting a number you read in a review, because these move.
Budget for thread, needles, and fabric separately. Thread in the colors your projects actually need, a fresh pack of needles, and a couple of yards of inexpensive cotton to practice on. That is the real cost of learning to sew, and it is small compared to the machine.
Do the math per project instead of per purchase. A machine that sews a straight seam without fighting you gets used for years. A machine that fights you gets used twice and then lives in a closet.
The short version
Buy the all-rounder if you sew flat things and want the simplest path. Buy the step-up if you sew sleeves, cuffs, or clothing for kids, because the free arm pays for itself in the first project. Either way, wind the bobbin first, thread with the presser foot up, test on a scrap, and change the needle more often than feels necessary.
That is the job. The machine was built to do this. Let it.