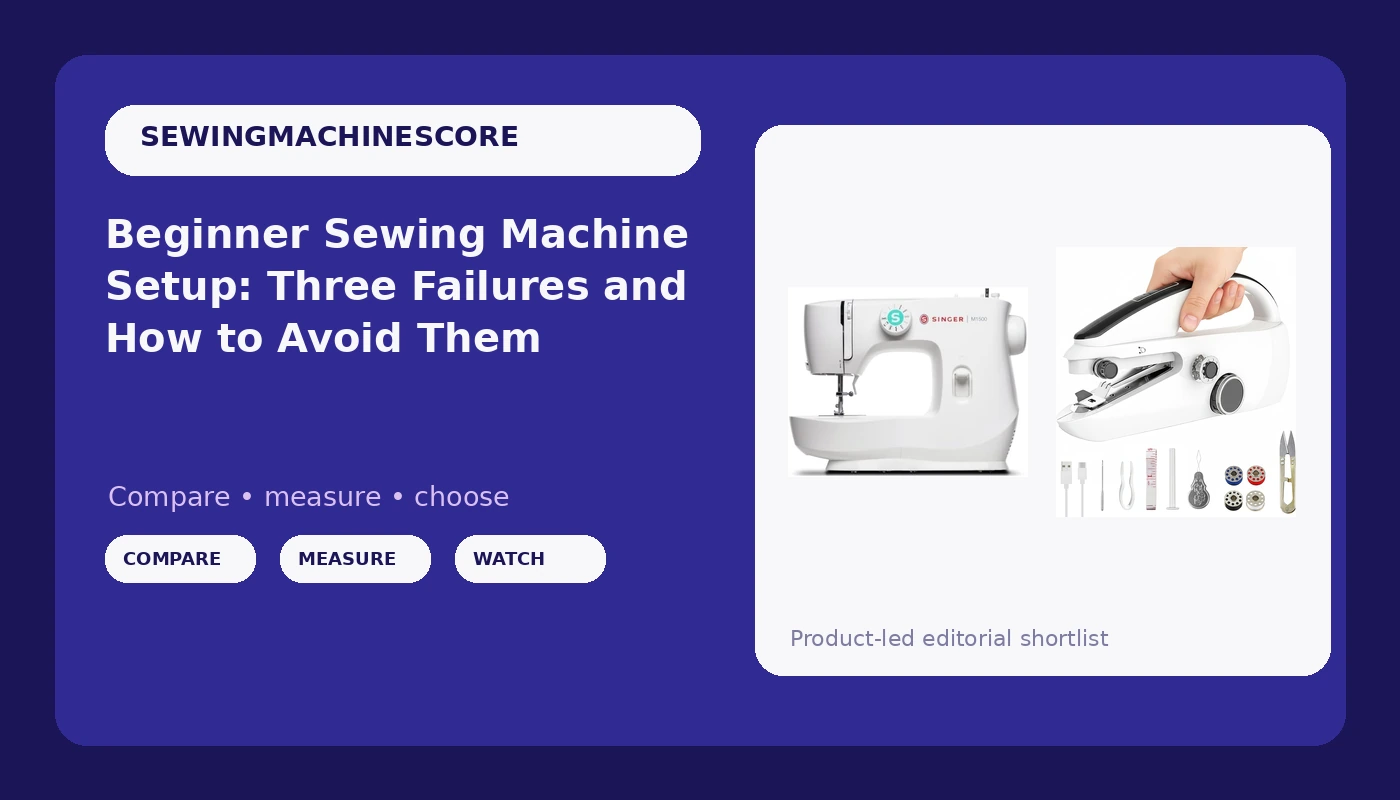
Most first sewing machines are fine. Most first sewing projects fail anyway, and the failure almost never happens at the machine. It happens in the order of operations.
I have taught beginner classes in Portland for twelve years, and the pattern is always the same. Someone buys a machine, threads it once, sews a wobbly seam on the wrong fabric, and puts the machine in a closet for a year. A beginner sewing machine setup that works is not complicated. It is just sequenced. Bobbin first, then top thread, then tension, then a test seam on scrap, and only then the real fabric.
This guide is that sequence. It is the same order I teach in class, and it works on a basic mechanical machine and on one that costs ten times as much. Two machines anchor the recommendations here, one full size and one handheld, and I will tell you plainly which jobs each one is for and which jobs it is not.
Why you should trust me
Twelve years as a costume seamstress, from Renaissance fair gowns to four hundred Halloween costumes for a single school. I teach beginner sewing classes, and I keep a seam test journal on every machine I use: five fabric types, three stitch lengths, and a written verdict on each one. Straight stitch quality is the whole game for me. Buttonholes tell me more about a machine than its stitch count ever will, and stitch count marketing is a pet peeve I will complain about at length.
My rule for a beginner machine is not about features. It is about whether the machine makes you want to sit down and sew again tomorrow. That is the real specification.
How I chose these two machines
Three criteria, applied to everything I hand a student.
First, can a beginner thread it without a video? If the threading path is hidden behind a plastic door with no diagram, it is a bad first machine, no matter how good the stitches are.
Second, does it come with the parts you actually need on day one? A machine that ships with an accessory kit saves you a separate order for feet and bobbins, which matters more than people think. Half of the "my machine is broken" posts I see are really "my machine is missing a presser foot I did not know I needed."
Third, will it survive the fabric you actually sew? Buy for your fabric, not for a fantasy project. If you sew quilting cotton, almost anything works. If you want to hem jeans, you need a machine that will not stall on a thick seam.
I left computerized machines out of the top spot on purpose. Computerized features are wonderful until the circuit board dies and the repair costs half of what the machine cost.
The two machines worth starting on
One full size machine for actual sewing, and one handheld for repairs and for the person who is not sure they want a hobby yet.
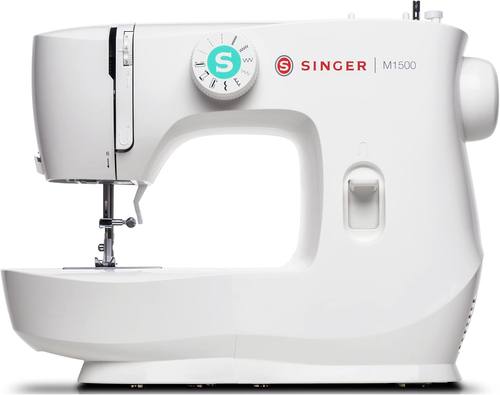
The full-size pick: SINGER® M1500 Lightweight & Portable Sewing Machine with Accessory Kit
 Visit on Amazon →
This is the machine I point a true beginner toward when they want to sew garments, curtains, or anything else that involves long seams and real seam allowances. It is light, it is portable, and it comes with an accessory kit, which means you are not ordering a separate box of feet before your second project.
The light body is the point and the caveat at the same time. A machine you can carry to the dining table and put back in the closet is a machine that gets used. A machine that lives in a basement on a dedicated table is a machine that gets forgotten. Put a non-slip mat under it, because a light machine will walk across a smooth table when you sew fast.
Flaws but not dealbreakers: A lightweight machine is not a heavy duty machine, and no amount of branding changes that. Do not ask it to sew leather, and do not expect it to power through four layers of denim without complaint. Feed it the fabric it was built for and it will be steady for years.
Check current Amazon price before you order, since this class of machine moves around a lot. If you want one machine that covers a beginner first two years, this is the shape of machine to buy.
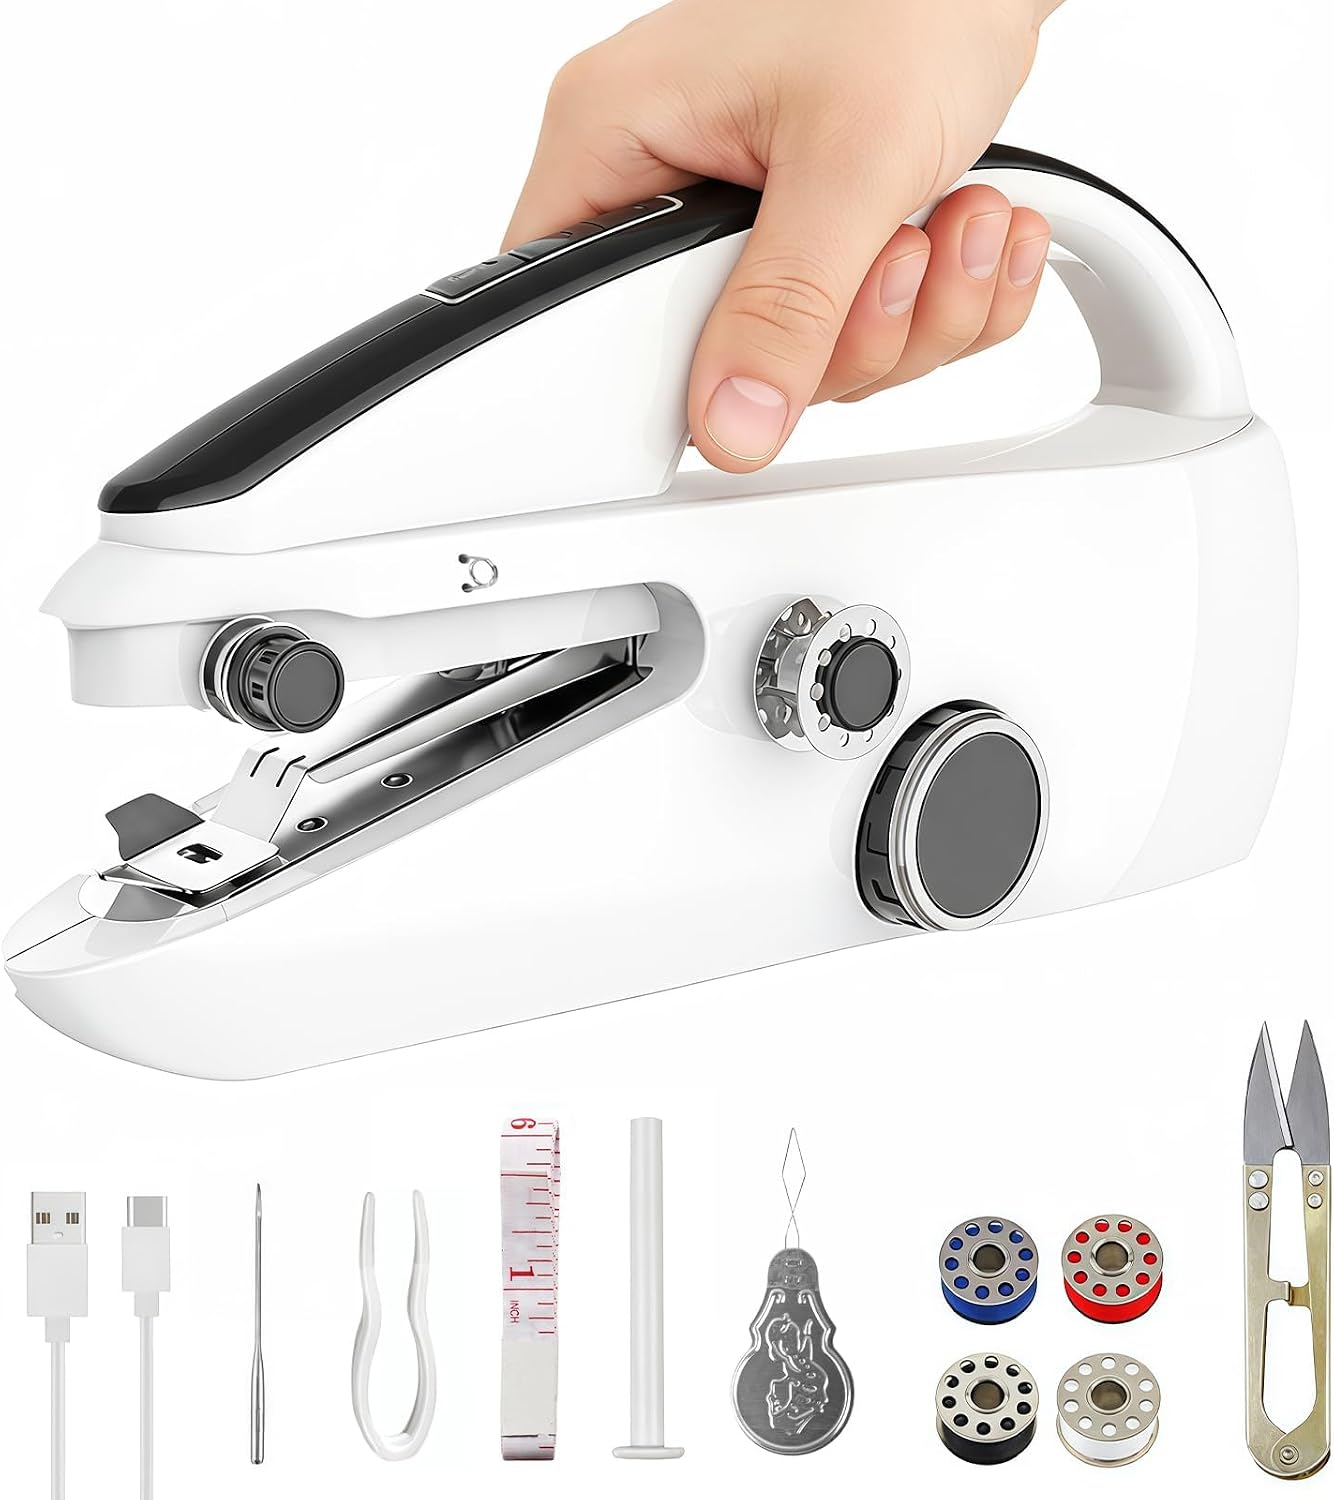
The handheld pick: Ninonly Handheld Sewing Machine for Beginners, Portable Mini Sewing Machine with Two Speed Modes for Quick Home Repairs Birthday Christmas Mom Valentine's Day Gifts (White)
 Visit on Amazon →
Buy this for what it is: a repair tool, not a sewing machine in the garment sense. It is handheld, it runs on two speed modes, and it is built for quick fixes. A popped seam, a hem that let go, a curtain edge that needs tacking, a kid costume repair ten minutes before the school bus. The two speed modes matter more than they sound. The slower setting is what you want on a delicate mending job, because your other hand is holding the fabric and you cannot steer fast and accurately at the same time.
It is also, frankly, a good gift. The listing says so, and for once I agree with the listing. Someone who is curious about sewing but not ready to give up a table will actually use this.
Flaws but not dealbreakers: You guide the fabric with one hand while the machine does the stitching, which takes practice. Tension control is limited compared to a full size machine, and long seams are miserable. Practice on scraps first, and keep the projects short.
Check current Amazon price. For the cost of a couple of notions, it turns a pile of mending into a ten minute job.
The actual setup, step by step
This is the order. Do not skip ahead to step seven because you are excited. Step seven is where the frustration lives when steps two through six got rushed.
Step one: Clear the table and lay out the parts. Everything you need is in the accessory kit: bobbins, a few presser feet, needles, and usually a seam ripper. Identify the presser foot, the presser foot lever, the needle clamp, the tension dial, the spool pin, and the bobbin winder. You do not need to understand them yet. You need to know where they are.
Step two: Wind the bobbin. Follow the diagram in the manual, not the diagram you remember from a video. The thread has to pass through the bobbin winder tension disc, or the bobbin winds loose and loopy. An uneven bobbin is behind a huge share of bad first seams.
Step three: Load the bobbin. Drop-in bobbins go in with the thread running the right direction, usually counterclockwise, and the case has to click. If it does not click, it is not seated, and you will get a tangle within three stitches.
Step four: Thread the top. Raise the presser foot first. This is the single most skipped step in beginner sewing and the cause of most tension problems. The tension discs are open when the foot is up, which lets the thread seat between them. With the foot down, the thread sits on top of the discs and your stitches will be loose no matter what the dial says. Then thread with the needle up, following the path in order, and make sure the thread goes through the take-up lever.
Step five: Set stitch length and tension. Start with a medium stitch length and tension in the middle of the dial range. Do not touch the tension dial again until you have a test seam. The dial is a fine adjustment, not a repair tool.
Step six: Test on three scraps. Woven cotton first, then something stretchy, then something thick. This is a habit worth building: three fabrics, one stitch length, and a look at both sides of the seam. If the top looks fine and the bottom is a rat nest, your bobbin is the problem. If the bottom is fine and the top loops, your top threading is the problem. If both sides are loose, raise the presser foot and rethread.
Step seven: Sew your first straight seam. Mark a line on a scrap with a pencil, or use the seam guide on the needle plate. Guide the fabric, do not pull it. The feed dogs move the fabric, and pulling it forward or backward bends needles and makes uneven stitches. Watch the guide line, not the needle. Your hands are there to steer, not to push.
Step eight: Finish, clean, and reset. Backstitch at both ends to lock the seam, cut the threads, then open the bobbin area and brush out the lint. Change the needle after every project or two. A dull needle causes skipped stitches, and a bent needle causes worse. Most "my machine is broken" complaints are a dull needle and a dirty bobbin case.
Common beginner problems and how to fix them
Bird nesting under the fabric. Almost always threading, not tension. Raise the presser foot, pull the top thread out, and rethread from the beginning, including the take-up lever.
Skipped stitches. Usually the needle. Change it, and check the size against the fabric. A needle that is too fine for the fabric will skip, and one that is too heavy will punch holes.
Thread shredding or breaking. Check the spool pin direction and the tension discs. If the thread snaps at the needle, you may be pulling the fabric, which drags the needle out of alignment with the hook.
Fabric not moving. Check that the feed dogs are up and that the stitch length dial is not sitting at zero.
Loose stitches on both sides. Rethread with the presser foot up. If it persists, the bobbin is wound unevenly. Wind a new one.
Do you need an automatic needle threader or a computer?
Short answer: no, and this is where I will be blunt. Automatic needle threaders break. The question is never whether it breaks, it is whether you can live without it when it does. Every machine I have used with one has needed the manual method eventually, so learn to thread by hand first. Then the threader is a convenience instead of a dependency.
A computerized machine is a different calculation. If you sew professionally and the machine pays for itself, the features are worth it. If you sew twice a month, a mechanical machine with a good straight stitch will do everything you need, and it will still be repairable in ten years. Ignore the stitch count marketing. A hundred stitch machine uses about ten of them, and the other ninety are decorative variations on the same mechanics.
What I would not buy for a first machine
Anything stamped heavy duty on a plastic body. The phrase is marketing, not a specification. If a machine is plastic framed and claims to sew leather, it will scream on thick fabric and skip on everything else.
A serger, for a first machine. A serger is a different tool that does a different job, and no amount of overlap changes that. Learn a straight seam first.
A vintage machine as a first machine, with one exception. I love vintage machines and I restore them. But a fifty year old machine needs a service, a belt, and a manual before it sews well, and a beginner deserves to spend the first month sewing instead of troubleshooting. Buy the modern beginner machine, and put the vintage find on your list for year two.
And a handheld as your only machine. It cannot do long seams or real garment construction. As a second tool or a mending kit, it is excellent. As the whole answer, it is not.
What this all costs
Full size beginner machine: Check current Amazon price. Handheld mini machine: Check current Amazon price. Add good thread, because the cheap stuff fuzzes and sheds, plus a pack of needles, a seam ripper, and a small pair of scissors. That is the whole kit, and none of it is optional if you want the first month to go smoothly.
The cost per project drops fast. A mending job that would have gone to a tailor pays for the handheld in a couple of visits, and a curtain hem pays for the thread.
Here is the thing I tell every class on the first night. Your machine is not delicate, and it is not magic. It is a needle, a hook, and two threads, and it will do exactly what you tell it to do if the threading is right and the tension is balanced. Run the straight stitch on denim, then run it on silk, and the machine that handles both without whining is the one you keep.
Set it up in the right order once, and you will stop dreading the machine. That is the whole goal. Now go sew something.