How To Clean And Oil A Sewing Machine
Related: Sewing Machine Tension Problems Fixed
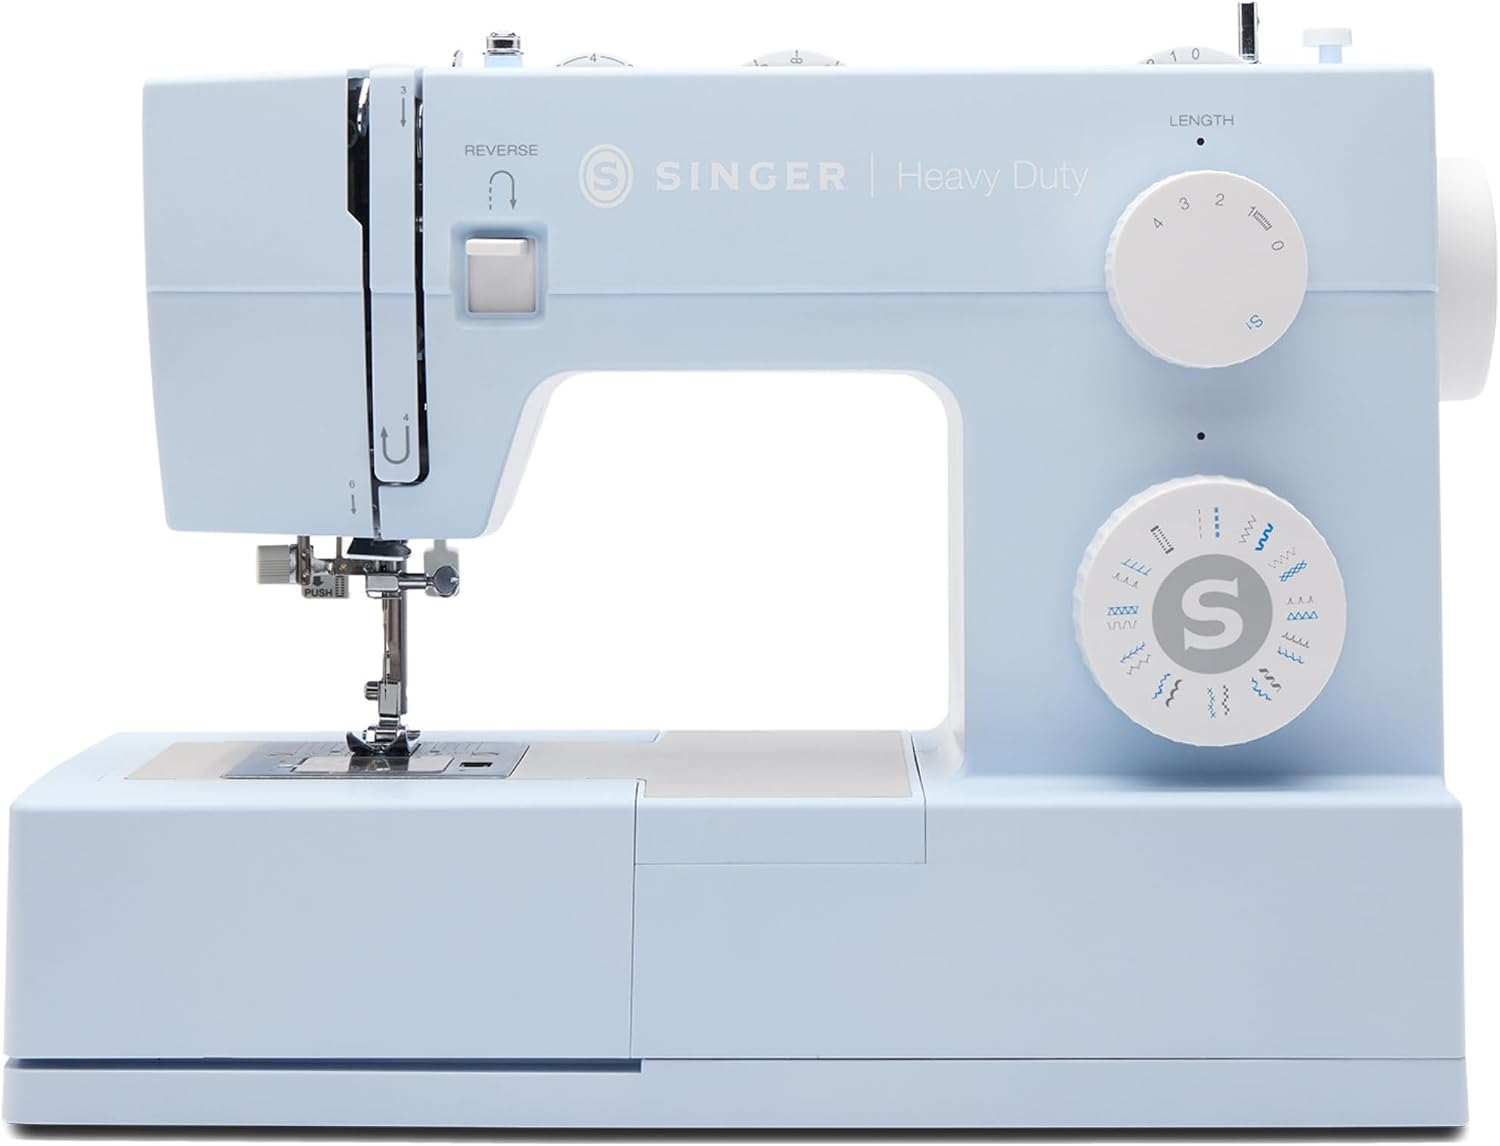
The Singer 4423 is advertised as a heavy duty workhorse that will plow through anything you throw at it. But here's what nobody tells you: if you don't clean and oil it, that workhorse turns into a temperamental mess that balls thread up under the plate faster than you can say "bobbin tension." I've been sewing for 12 years, I teach beginner classes out of my shop (Gus the labradoodle snoring on a pile of half-finished costume projects in the corner), and I've learned the hard way that a dirty machine is the real culprit behind most "broken" sewing machines.
I've owned my Brother XM2701 for 6 years and recently added the Singer 4423 Heavy Duty to handle leather and Cordura for my Renaissance fair gown work. Both machines have taught me the same lesson: maintenance matters more than brand, price, or stitch count. Let me walk you through exactly how I clean and oil both of them, because it's not the same process for every machine.
What you actually need
Before we start, gather these things. I keep all of this in a tackle box under my cutting table, right next to Gus's bed:
- A small brush. I use a cheap paintbrush with the bristles trimmed down. A makeup brush works too, don't judge me.
- Compressed air or a mini vacuum. I use the air compressor attachment in my shop, but a can of compressed air from the office supply store works fine.
- Sewing machine oil. This is non-negotiable. Use the good stuff, not 3-in-1 oil from the hardware store. I use the Singer oil that came with my 4423, but any brand-specific oil works.
- A screwdriver for the needle plate. Most machines need a flathead or Phillips. Check your manual.
- Lint-free cloths. Old t-shirts cut into squares work perfectly.
- Tweezers. You'll thank me when you find a thread nest in there.
That's it. No fancy cleaning kits, no special vacuums, no magic sprays. If a product promises to "deep clean" your machine without taking the plate off, it's marketing hook, line, and sinker.
The Brother XM2701: the unfussy one
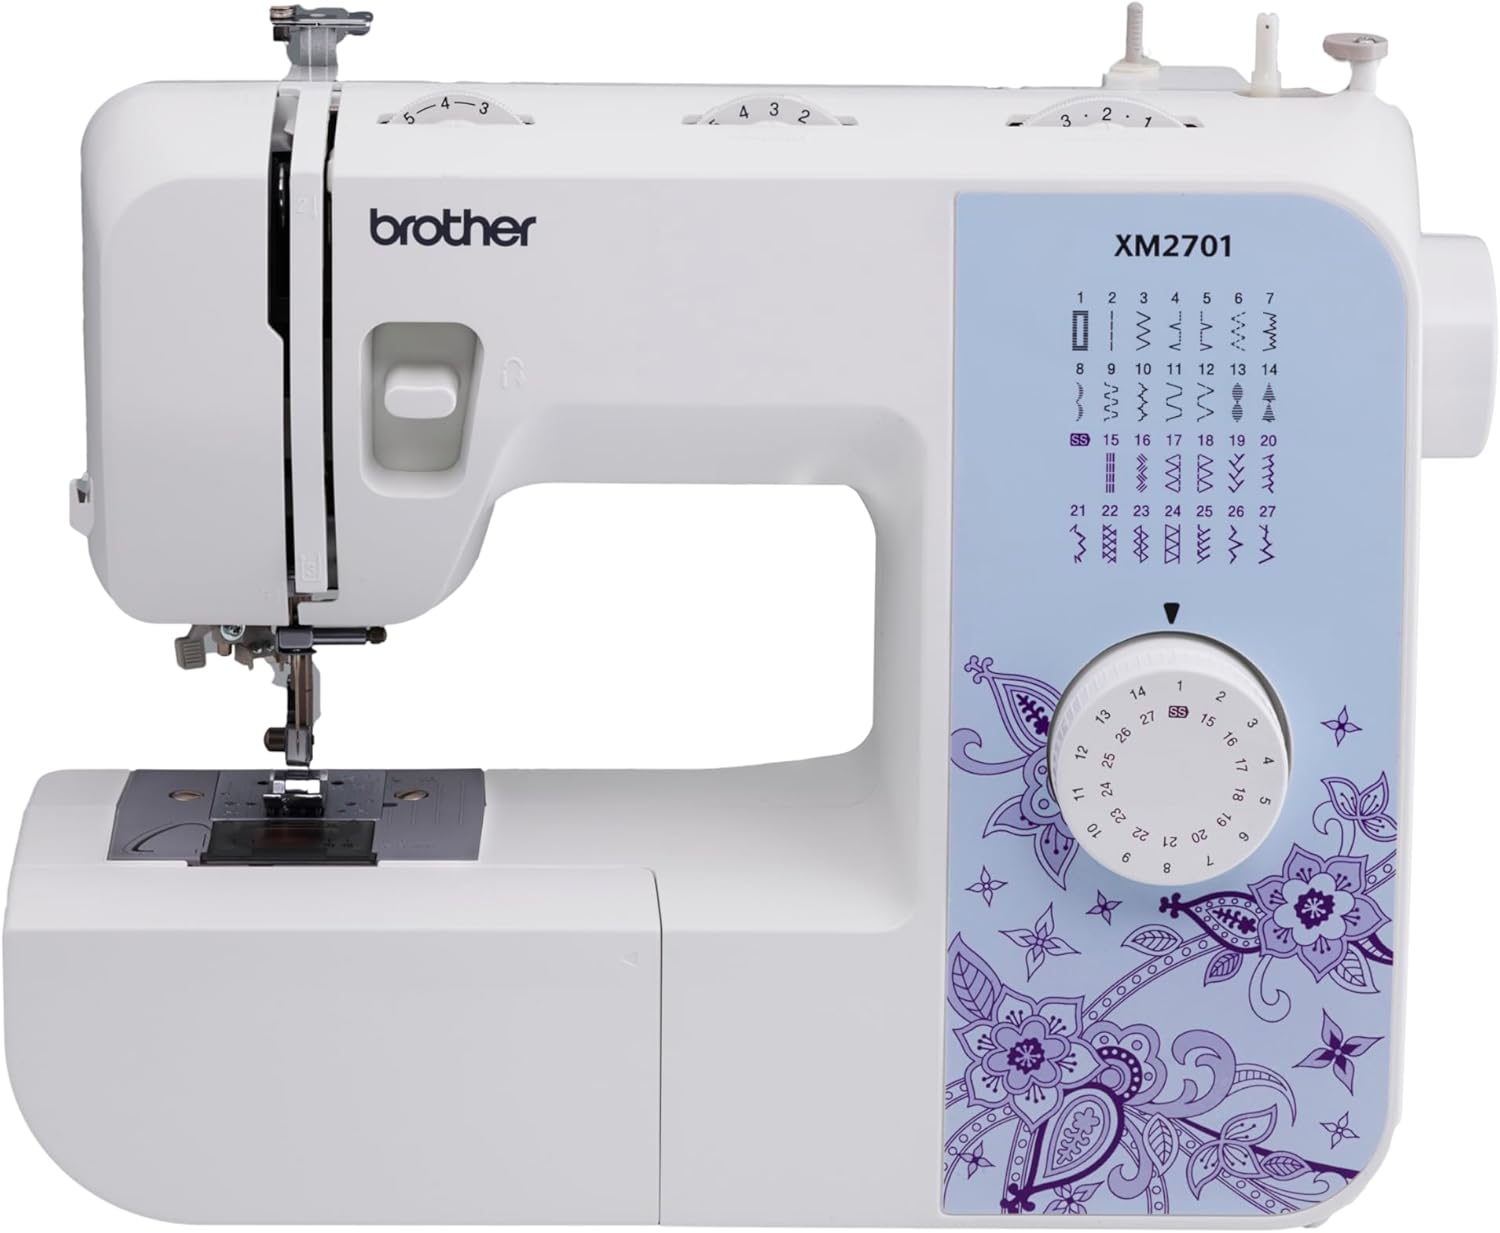
I've had my Brother XM2701 for 6 years. It's made Halloween costumes for 400 kids, 14 Christmas stockings, and a Totoro costume that survived three Halloweens. It's never let me down. But it does need regular cleaning, especially after heavy use.
The Brother has a top-loading bobbin, which makes cleaning easier than the front-loading machines I learned on. Here's my process:
Unplug the machine. You'd think this goes without saying, but I've caught myself reaching for the needle with the machine plugged in more than once. Don't be me.
Remove the needle plate. The Brother's plate is held by two screws. I use a small flathead screwdriver, and I keep the screws in a magnetic dish so they don't vanish into the carpet. Gus has eaten worse things, I won't risk it.
Brush out the bobbin area. This is where the lint accumulates. I brush from the center outward, working the bristles into every corner. The Brother's bobbin case is forgiving, but it still collects dust and thread fragments. I've found everything from fabric fibers to dog hair in there. Gus sheds like crazy and his hair gets everywhere, including my machines.
Use the compressed air. A quick burst clears out anything the brush missed. Hold the can upright and use short bursts. Tilt it and you'll spray propellant all over your machine. Learned that one the hard way.
Clean the feed dogs. Those little teeth that pull fabric through. They get packed with lint and thread bits. I use a toothpick to pick out the stubborn stuff, then brush again.
Oil the specified points. The Brother manual has a diagram showing exactly where to oil. It's usually the hook area and a few pivot points. One drop per point. One drop, not a puddle. The manual says to use the oil sparingly, and I've learned to trust it. Too much oil attracts more lint.
Wipe everything down. A dry cloth over the exterior, a slightly damp one if there's residue. Don't spray water or cleaner directly on the machine. Ever.
The whole process takes me about 15 minutes. I do it after every 3 or 4 projects, or whenever I notice the machine starting to sound different. A sewing machine that's running dry sounds angrier. Trust your ears.
The Singer 4423 Heavy Duty: the powerful one with a flaw
I bought the Singer 4423 Heavy Duty for my costume work. It plows through leather and denim like they're cotton. It's the best unit at its price point, and I stand by that. But here's the thing: Singer ships this machine with only safety warnings in the box.
No real manual. You'll need to download one or watch YouTube tutorials. That's a real complaint from real buyers, including a 67-year-old man who wrote in March 2024 that he bought this machine for simple clothing repairs, struggled with bobbin tangles (which turned out to be cheap thread, not the machine), and eventually made Hawaiian shirts, work shirts, and western shirts over 4 years.
I believe him.
The cleaning process on the 4423 is similar to the Brother, but there are differences:
The needle plate comes off with a different screw type. The 4423 uses larger screws. I keep a separate screwdriver in my tackle box for this machine because I got tired of swapping bits.
The bobbin area is deeper. The 4423 has a front-loading bobbin, which means more nooks and crannies for lint to hide. I use a smaller brush for this one, and I take my time. I've found thread nests in there that looked like a mouse had moved in.
Oil points are different. The 4423 manual (the downloaded PDF, since Singer didn't include one) shows specific oiling points. I mark them with a tiny dot of nail polish so I don't have to pull out the manual every time. That's a trick my grandmother taught me, and it works.
The bobbin case needs special attention. The 4423 takes clear plastic Class 15 bobbins only. Not 15J, not metal. Get that wrong and you'll have thread balled up under there. I've seen students do this and blame the machine. It's not the machine. It's the bobbin.
The 4423's pedal is sensitive. It goes 0 to 60 in a leap, which is a dealbreaker for beginners. But for cleaning purposes, that doesn't matter. What matters is that this machine needs more frequent cleaning than the Brother because it handles heavier fabrics that produce more lint. Cordura and denim shed fibers like crazy. I clean the 4423 after every heavy project, not every 3 or 4.
How often should you clean and oil?
Here's my rule of thumb, developed over 12 years of sewing:
- Light use (a few hours a week): Clean and oil once a month.
- Regular use (a few hours a day): Clean and oil every 2 to 3 weeks.
- Heavy use (costume season, teaching classes, production work): Clean and oil every week. I teach my beginner classes on machines I've already cleaned and oiled, because a machine that jams on a student's first project is a machine that student won't want to use again.
Also clean and oil any time you notice:
- The machine is louder than usual.
- Stitches are skipping.
- The fabric isn't feeding smoothly.
- You see lint accumulating around the needle plate.
One more thing: always hang onto your thread ends when you start a seam. That's the first thing I teach my students, and it prevents so many tangles that people blame on the machine. It's not the machine. It's the thread end.
Common mistakes I see in my classes
My students make the same mistakes every semester, and I've made them myself. Here's what to avoid:
Using the wrong oil. Household oil, vegetable oil, WD-40. I've seen all of it. Sewing machine oil is specifically formulated to lubricate without gumming up. Use the right stuff. A 4-ounce bottle costs ~$7 and lasts a year.
Oiling the wrong spots. The manual shows you where to oil. If you don't have a manual, download one. Oiling the bobbin case itself can cause problems. The hook race is where the oil goes, not the case.
Over-oiling. One drop per point. If oil is dripping out of the machine, you've used too much. Excess oil attracts lint and turns into a gummy mess that's worse than no oil at all.
Skipping the brush before the air. If you use compressed air first, you'll blow the lint deeper into the machine. Brush first, then air. The order matters.
Forgetting to unplug. I said it before, I'll say it again. Unplug the machine before you clean it. I've had students reach for the needle while the machine is still plugged in. It's a habit that takes 2 seconds and prevents a trip to the emergency room.
Using the wrong bobbin. This is the one that causes the most "my machine is broken" panic. The Brother XM2701 uses Class 15 bobbins. The Singer 4423 uses clear plastic Class 15 bobbins, not 15J, not metal.
If you use the wrong bobbin, you'll get thread balled up under there and you'll blame the machine. It's your own fault.
I've done it. My students have done it. Check the manual, check the bobbin, save yourself the frustration.
The bottom line
I don't track prices day to day, so I won't pretend to know what these machines cost next week. What I know is this: a ~$130 Brother XM2701 that's cleaned and oiled regularly will outlast a ~$500 machine that's neglected. My Brother has cost me about six cents a day over the 6 years I've owned it. That's not a purchase, that's a bargain.
Clean and oil your machine on a schedule. Use the right tools and the right oil. Read the manual, even if you have to download it. And if you're using the Singer 4423, buy the oil and the right bobbins before you need them. Your machine will run quieter, stitch smoother, and last longer. And you'll spend less time cussing at thread nests and more time sewing.
Gus approves of this message. He's currently sleeping on a half-finished pirate costume, and he knows a thing or two about what happens when you skip maintenance.