Sewing machine setup is not about getting the machine out of the box and running a seam. It is about proving the machine can hold a seam before you cut into good fabric. I am Helen, a costume seamstress in Portland, Oregon, and I have spent 12 years building gowns, Halloween costumes for a school of 400 kids, and a lot of practice muslins. I teach beginner sewing classes, and the first thing I do with any new machine is ignore the stitch count and run a straight stitch on three different fabrics. The machine that handles denim and silk without whining is the one worth your time.
Why you should trust me
I have been a costume seamstress for 12 years. I keep a seam test journal with five fabric types, three stitch lengths, and a verdict on every machine I have used. I own three machines and a serger that lives on my dining table. My rules are simple. Straight stitch quality is the whole game. Buttonholes tell you more than stitch count ever will. Buy for the fabric you actually sew. I do not review a machine without a seam test on at least three fabric types. This guide is the setup and test sequence I use before a machine earns a place in my studio.
How I picked and how I tested
This is a how-to guide, so the two machines here are examples of different setups, not a ranked list. The SINGER 6800C is a computerized heavy duty machine with an accessory kit. The Brother SE700 is a combo embroidery and sewing machine with four embroidery hoops, an embroidery thread set, and accessories. Both are machines a beginner or returning sewer might set up first. The difference is in what each machine is built to do, what comes in the box, and where the setup process changes. My test standard is the same one I use in class: a straight stitch on woven, knit, and thick fabric, a tension check across a seam, and a buttonhole. No test, no verdict. You can run the same sequence on either machine before you decide whether it stays on your table.
The two machines in this guide
These two machines cover the two most common paths for a new sewer. One is a computerized sewing machine. The other is a combo machine that adds embroidery. The setup steps below work for both.
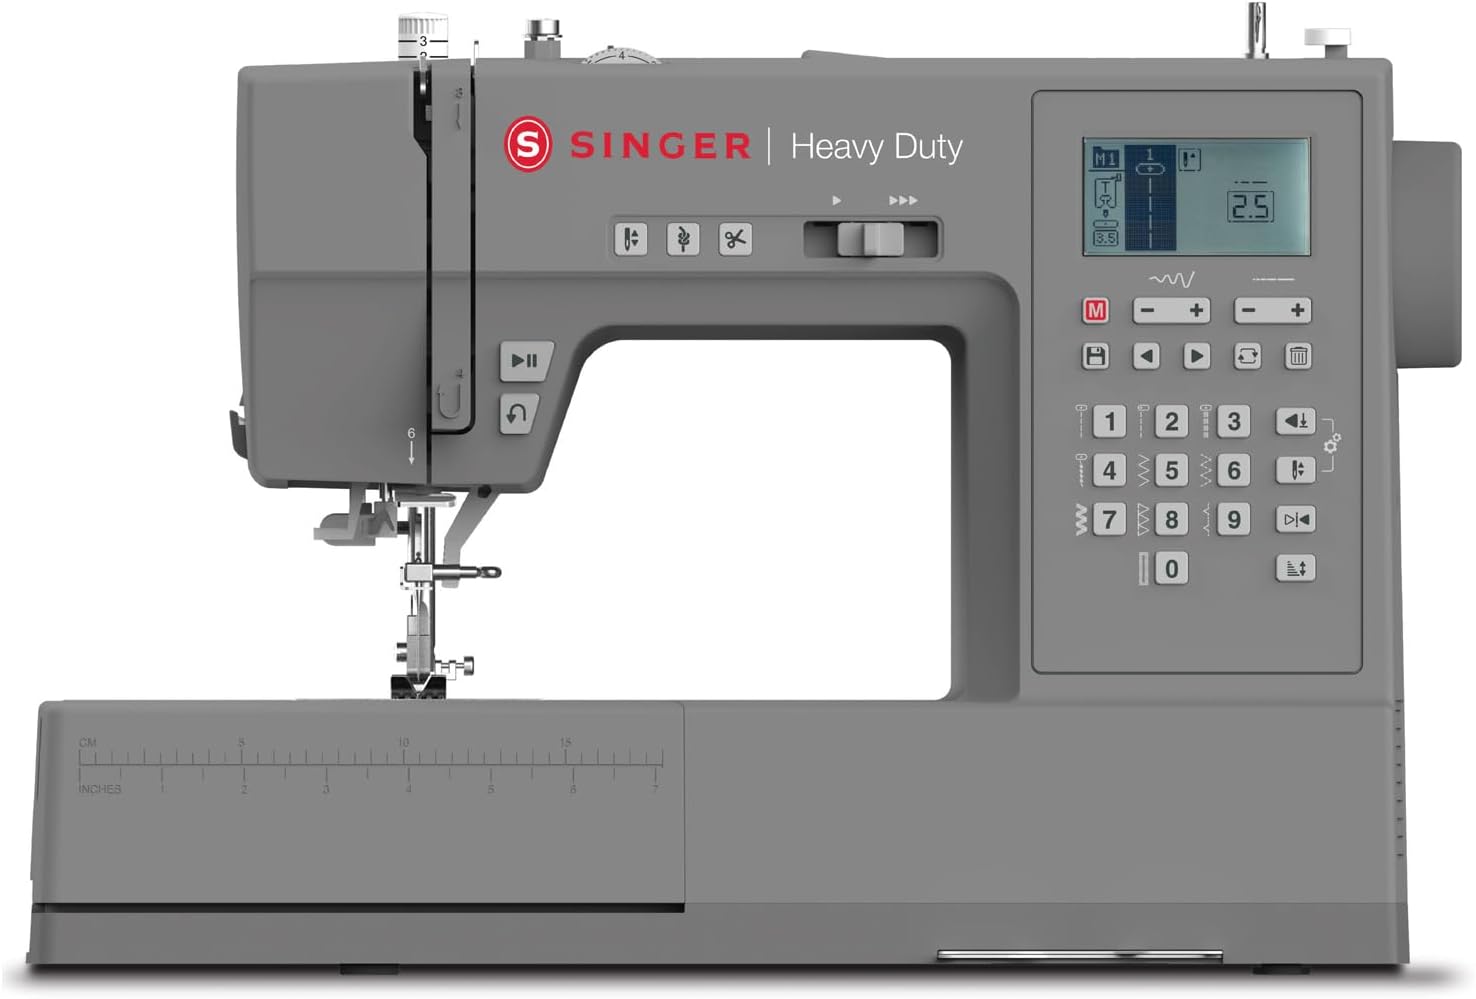
The workhorse pick: SINGER® 6800C Heavy Duty Computerized Sewing Machine with Accessory Kit
 Visit on Amazon →
This is the machine for a sewer who wants a computerized interface and a heavy duty badge without jumping into embroidery. The accessory kit means you are not hunting for a basic foot on day one, though you should still check the box contents against the manual so you know what you have. Computerized machines give you push-button stitch selection and often automatic needle threading, which is convenient until it breaks. My advice is to learn to thread the needle by hand first. If the automatic threader fails in month two, you will not be stuck. The heavy duty label is worth questioning on any machine. The real test is whether it sews a clean straight stitch on denim without sounding like it is in pain. That is what the three-fabric test below is for. This machine suits a garment sewer or a quilter who wants a wide stitch menu. It is not an embroidery machine. If you want to stitch designs, look at the Brother below.
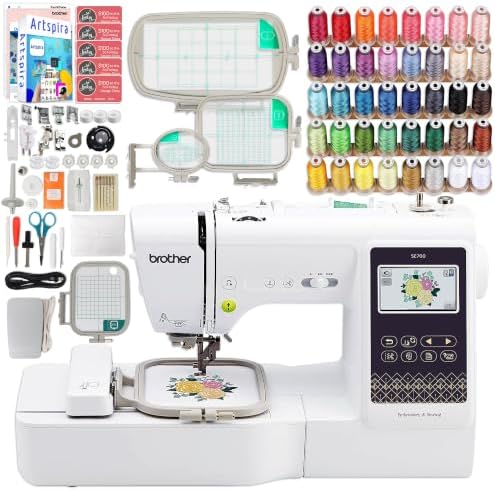
The embroidery-ready pick: Brother SE700 Combo Embroidery & Sewing Machine with 4 Embroidery Hoops, Embroidery Thread Set & Accessories
 Visit on Amazon →
This is a combo machine, which means it sews and embroiders. The package includes four embroidery hoops, an embroidery thread set, and accessories, so you can start with machine embroidery without buying every hoop separately. That matters because hoop sizes are where combo machine costs sneak up on you. A combo machine is not automatically a better sewing machine. Embroidery adds a second workflow: hooping, stabilizer, thread color changes, and a different kind of tension. If you mainly sew garments, the embroidery side is a bonus you may not use. If you want to monogram, add applique, or stitch designs on gifts, this is the machine that opens that door. Set up the sewing side first with the steps below. Learn the straight stitch before you touch an embroidery hoop. The same rule applies: no verdict until you have run the three-fabric test.
The actual setup workflow
This sequence works on a computerized machine and on a mechanical one. The steps are the same. The buttons are different.
Step one: Clear the table and read the manual. Put the machine on a stable surface at a height where your elbows are level with the bed. Read the threading diagram in the manual before you touch the thread. Every machine threads in a specific order, and skipping a guide can cause a tension problem that looks like a broken machine. Keep the manual within reach. If the manual is confusing, search for the machine model plus "threading" and watch a video.
Step two: Wind a bobbin. Use a bobbin that matches your machine, not a generic one that looks close. Thread the bobbin winder according to the manual and wind until the bobbin is full but not overflowing. A bobbin that is wound unevenly will cause loops and skipped stitches. After winding, drop the bobbin into the case and pull the thread through the correct slot and tension spring. If the bobbin thread does not pull smoothly, the case is threaded wrong.
Step three: Thread the top. Raise the presser foot before you thread. This opens the tension discs so the thread seats correctly. Follow the numbered path on the machine. Always thread with the needle in the up position. If your machine has an automatic needle threader, use it after you have learned to thread by hand. Automatic threaders are convenient, but they are also a common failure point. A hand-threading habit keeps you sewing when the threader quits.
Step four: Set the tension starting point. Set the dial or digital tension to the middle of its range. Do not start at the extreme. The tension dial is the control everyone touches and nobody understands. Balanced tension means the top and bottom threads meet inside the fabric, not on top of it. If you see loops on the top, the top tension is too loose or the bobbin is wrong. If you see loops on the bottom, the top tension is too tight. Adjust in small steps and test after each change.
Step five: Run the three-fabric straight stitch test. This is the step that matters most. Cut three scraps: a woven like cotton poplin, a knit like jersey, and a thick fabric like denim or canvas. Use a universal needle for the woven, a ballpoint or stretch needle for the knit, and a denim or heavy duty needle for the thick fabric. Set a straight stitch at a medium length, about 2.5 mm if your machine uses numbers. Sew a line on each scrap. Look at the stitch from both sides. The stitches should be even, with no loops, no puckers, and no skipped stitches. If one fabric fails, change the needle first, then rethread, then adjust tension. The machine that passes all three is the one you keep.
Step six: Check presser foot pressure. Many machines have a presser foot pressure dial or a preset that you cannot change. If yours has a dial, lower the pressure for thick fabric so the foot can ride over the seam. Raise it for thin fabric so the feed dogs can grip. If the fabric slides or the stitch length varies, pressure is a likely cause. This is a small adjustment that solves a lot of frustration.
Step seven: Test a buttonhole. Buttonholes tell you more about a machine than a stitch count ever will. Use a scrap of the fabric you plan to use, with a piece of stabilizer behind it if the fabric is light. Sew a buttonhole with the machine's automatic buttonhole foot. Look at the density, the corners, and whether the two sides match. If the buttonhole is uneven, the fabric may be shifting. Try a fresh needle, a stabilizer, and a slower speed. A clean buttonhole means the machine's feed and timing are working together.
Step eight: Clean the bobbin area and record your settings. Remove the needle plate if your manual allows it. Brush out the lint. Put in a new needle. Write down the needle type, thread brand, tension setting, and stitch length that worked on each test fabric. Keep that note with the machine. When you switch from denim to silk in three months, you will not have to guess.
Common setup mistakes and how to fix them
Skipping the bobbin check. Half of the "my machine is broken" posts start with a bobbin that is wound wrong, inserted wrong, or wound on the wrong bobbin. Check the bobbin first.
Trusting the automatic needle threader. It is a convenience, not a foundation. Learn the hand path. When the threader breaks, you will still be able to sew.
Using the wrong needle. A universal needle on denim will bend or break. A denim needle on silk will leave holes. Match the needle to the fabric, and change the needle often.
Adjusting tension before threading. If the presser foot is down while you thread, the thread will not seat in the tension discs. Raise the foot, rethread, then judge the tension.
Testing on one fabric. A machine can sew perfect cotton and fail on knits. The three-fabric test is the only test that tells you what you own.
Forcing thick fabric. If the machine sounds like it is chewing rocks, stop. Use a denim needle, increase stitch length, and support the fabric. If it still struggles, the machine is not built for that job.
The competition and why it lost
This is not a buyer's guide for every machine on the market. A straight-stitch industrial machine is a tank for seams, but it does not do buttonholes or zigzag, so it is the wrong tool for a beginner setup. A vintage mechanical machine can be wonderful, but it often needs a service and a new belt before it sews a reliable seam. An embroidery-only machine cannot hem a pair of pants. A serger is a different tool entirely. It finishes edges and sews knits, but it does not replace a sewing machine. The two machines in this guide cover the two most common paths: a computerized sewing machine for garments and quilts, and a combo machine for sewing plus embroidery. Pick the path that matches the fabric and the projects you actually have.
What this all costs
The machines here sit in two different tiers, and the live price on each listing is the only number that matters. Check current Amazon price on both before you commit. The setup itself costs nothing but time. The accessories are where beginners overspend. You need needles for the fabric you sew, a seam ripper, a small screwdriver, and a bobbin that matches your machine. You do not need a 100-piece presser foot kit on day one. Buy the feet for the techniques you actually use: a zipper foot, a buttonhole foot if your machine does not include one, and a walking foot if you quilt or sew slippery layers. Thread is cheap. Fabric is not. Run your test seams on scraps before you cut into the good stuff.
The setup sequence takes an afternoon. The payoff lasts as long as you own the machine. If you learn your machine on three scraps, you will spend less time frogging and more time sewing. That is the whole point. Your machine was built to sew. Set it up so it can.